
An under-sink sparkling water dispenser gives you instant access to sparkling, chilled, and ambient drinking water without placing a separate appliance on the kitchen counter.
However, correct installation is especially important for a sparkling water system. Unlike a standard water filter, the system involves not only water connections but also a CO₂ cylinder, pressure regulator, gas line, multiple water outlets, and flow adjustment.
This guide explains how to install a Liliumfaucet under-sink sparkling water dispenser with a 3-way faucet, including
- Water inlet and outlet connections
- CO₂ cylinder and regulator installation
- CO₂ pressure adjustment
- 3-way faucet connections
- Water flow adjustment
- Initial system startup
- Leak checking and basic troubleshooting
Before beginning, make sure you have enough space inside the cabinet for the dispenser, filtration system, CO₂ cylinder, regulator, tubing, and ventilation around the machine.
What You Need Before Installation
Before installing your sparkling water dispenser, prepare the main components of the system.
You will typically need:
- Liliumfaucet under-sink sparkling water dispenser
- Compatible 3-way faucet
- Water filtration system
- CO₂ cylinder
- CO₂ pressure regulator
- 5/16-inch CO₂ tubing
- 1/4-inch water tubing
- Manual shut-off valves
- Insulation tubing
- Drip tray
- Power supply
It is helpful to organize the water lines before making the final connections.
The dispenser has separate connections for:
- Sparkling water
- Chilled water
- Ambient water
- Water inlet
- CO₂ inlet
Clearly identifying these ports before installation can help prevent crossed connections.
Step 1: Connect the Three Water Outlet Pipes
Start by preparing three lengths of 1/4-inch water tubing.
Connect them to the corresponding outlets on the sparkling water dispenser:
- Sparkling Water Out
- Chilled Water Out
- Ambient Water Out
Push each tube completely into its fitting and gently pull it back to confirm that it is securely locked.
Because the three lines serve different types of water, keeping them clearly separated during installation will make connecting the faucet much easier later.
You may want to label each tube temporarily.
Step 2: Prepare the CO₂ Gas Line
Next, prepare the CO₂ connection.
Cut a suitable length of 5/16-inch CO₂ tubing based on the distance between the CO₂ cylinder and the sparkling water dispenser.
Install a manual shut-off valve in the CO₂ line.
This valve allows you to quickly open or close the gas supply without removing the pressure regulator from the cylinder.
During the initial installation, keep this manual CO₂ valve closed.
Step 3: Connect the CO₂ Tube to the Pressure Regulator
Connect one end of the 5/16-inch CO₂ tube to the outlet of the CO₂ pressure regulator.
Make sure the tubing is inserted securely and that the connection cannot easily pull loose.
The regulator is one of the most important parts of the sparkling water system because it controls the CO₂ pressure supplied to the dispenser.
Step 4: Install the Regulator on the CO₂ Cylinder
Securely attach the pressure regulator to the CO₂ cylinder.
Make sure the connection is properly tightened before opening the cylinder.
The regulator should remain stable and easy to read once installed.
Do not open the manual CO₂ valve leading to the dispenser yet.
The water side of the system should be connected and initially filled before introducing CO₂.
Step 5: Set the CO₂ Pressure
Adjust the pressure regulator to approximately:
58–73 PSI
or approximately:
4–5 bar
This is the recommended starting pressure range for the Liliumfaucet sparkling water dispenser.
The final carbonation result does not depend on CO₂ pressure alone. Water temperature and sparkling water flow rate also affect carbonation performance.
For this reason, it is better to begin within the recommended pressure range and fine-tune the water flow later rather than simply increasing CO₂ pressure.
Step 6: Keep the CO₂ Shut-Off Valve Closed
After setting the regulator, make sure the manual shut-off valve installed in the 5/16-inch CO₂ line remains closed.
CO₂ will be introduced later during the startup process.
This allows you to complete the water connections and verify normal water flow first.
Step 7: Connect the CO₂ Line to the Dispenser
Take the other end of the 5/16-inch CO₂ tube and connect it to the CO₂ inlet on the sparkling water dispenser.
Make sure the tubing is fully inserted.
Check the entire CO₂ connection path:
CO₂ Cylinder → Pressure Regulator → 5/16" CO₂ Tube → Manual Shut-Off Valve → Dispenser CO₂ Inlet
Do not open the manual valve yet.
Step 8: Prepare the Water Inlet Line
Now prepare the incoming water supply.
Cut a suitable length of 1/4-inch water tubing and install a manual shut-off valve in the line.
The shut-off valve makes future servicing, filter replacement, and maintenance easier because the water supply to the machine can be isolated without shutting off the entire kitchen water supply.
Step 9: Add Insulation to the Cold Water Lines
Before making the final connections, cover the chilled water and sparkling water outlet tubing with insulation.
The two lines carry cold water and may develop condensation, especially in warm or humid environments.
Insulating the tubing helps reduce moisture forming on the outside of the pipes inside the kitchen cabinet.
Pay particular attention to:
- Chilled water tubing
- Sparkling water tubing
The ambient water line normally does not require the same level of insulation.
Step 10: Connect the Water Inlet to the Machine
Connect the prepared 1/4-inch water inlet tube to the Water In connection on the dispenser.
Push the tube firmly into the quick-connect fitting.
Check that it is securely locked before continuing.
Step 11: Connect the Dispenser to the Water Filtration System
Connect the opposite end of the water inlet tube to your water filtration system.
A typical installation layout is:
Cold Water Supply → Water Filter → Manual Shut-Off Valve → Sparkling Water Dispenser
Once the connections are complete, open the water inlet valve.
Check the fittings immediately for leaks.
Step 12: Check the Water Inlet Pressure
The water inlet pressure should be at least:
2 bar
Adequate inlet pressure is important because the dispenser needs a reliable water supply to refill the internal system and deliver consistent chilled and sparkling water.
If the incoming water pressure or flow is too low, the machine may refill slowly and performance may be affected.
When using a filtration system, also make sure the filter itself is not significantly restricting the water flow.
Step 13: Connect the Three Water Lines to the 3-Way Faucet
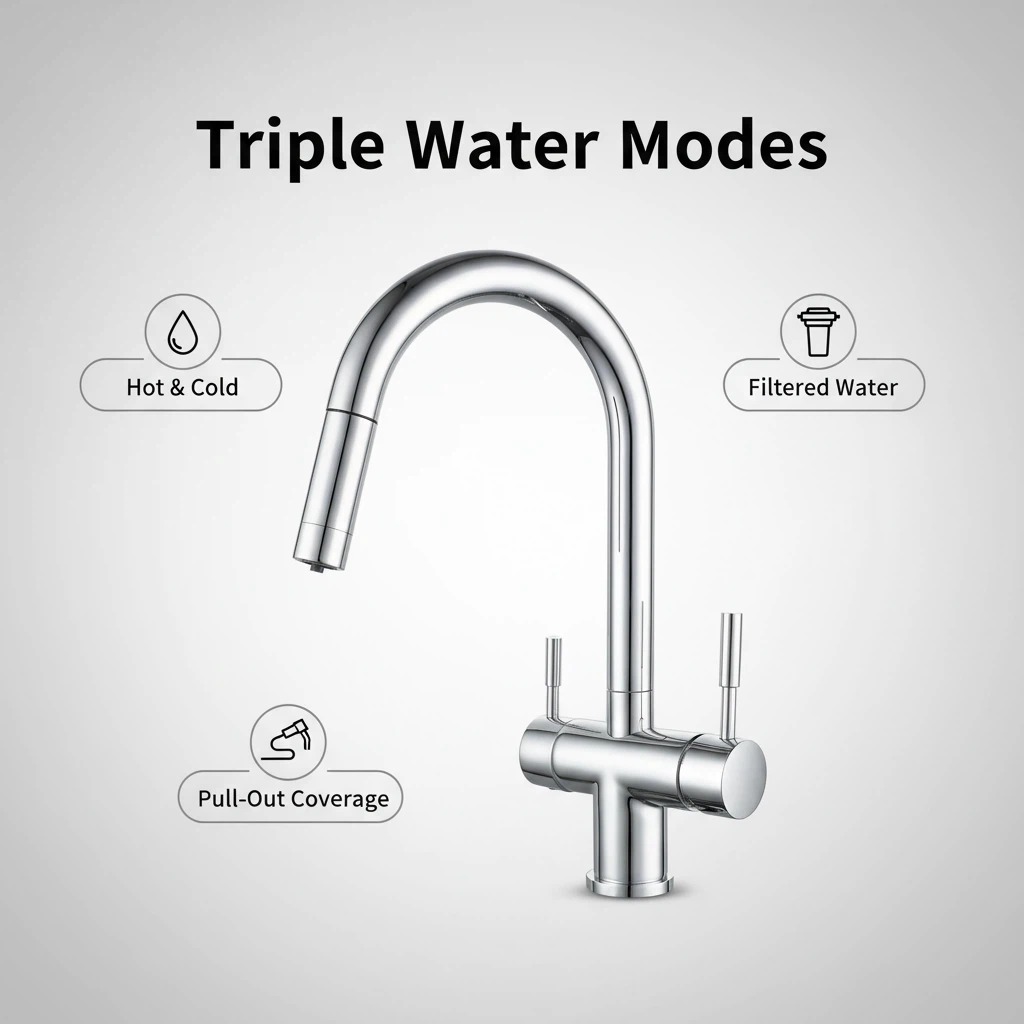
Next, connect the three 1/4-inch outlet pipes from the machine to the corresponding connections on the 3-way faucet tapping head.
Match each line carefully:
- Sparkling water line → Sparkling water connection
- Chilled water line → Chilled water connection
- Ambient water line → Ambient water connection
Do not interchange the lines.
After connecting them, gently pull each tube to make sure the fitting has locked properly.
Before pushing the dispenser fully into the cabinet, check that none of the tubing is bent, pinched, twisted, or sharply folded.
Step 14: Install the Drip Tray
Install the drip tray on the sparkling water dispenser.
Make sure it is seated correctly before operating the machine.
Step 15: Connect the Power Cable
Once the water and CO₂ tubing have been connected, connect the dispenser to the appropriate electrical power supply.
At this stage:
- The water inlet valve should be open.
- The CO₂ manual shut-off valve should still be closed.
You are now ready to start filling the internal water system.
Step 16: Switch On the Sparkling Water Dispenser
Turn on the dispenser.
Allow water to enter and fill the internal system.
During the first startup, give the dispenser time to complete the initial filling process before making final CO₂ and water flow adjustments.
Step 17: Open the Ambient Water Valve
Locate the ambient water valve on the side of the dispenser and open it.
This allows ambient filtered water to flow through its dedicated outlet line.
Step 18: Test the Ambient Water First
Open the ambient water handle on the 3-way faucet.
Confirm that water flows normally.
This is an important initial test because it confirms that:
- Water is reaching the dispenser.
- The inlet connection is working.
- The faucet connection is correct.
- The system is receiving sufficient water.
If no water comes from the faucet, check the inlet valve, filtration system, tubing connections, and water supply before continuing.
Step 19: Open the CO₂ Supply
Once normal water flow has been confirmed, slowly open the manual CO₂ shut-off valve.
Maintain the regulator pressure at approximately:
58–73 PSI / 4–5 bar
Check the CO₂ connections carefully for any signs of leakage.
The CO₂ system is now supplying gas to the sparkling water section of the dispenser.
Step 20: Open the Sparkling and Chilled Water Valves
Open the sparkling water and chilled water valves on the side of the dispenser.
Test both functions from the faucet.
If the water flow is too high or too low, use the corresponding side valves on the dispenser to adjust the outlet flow.
These valves are important for setting up the sparkling water correctly because carbonation performance depends on the balance between water flow and CO₂ pressure.
Step 21: Adjust the Sparkling Water Flow to About 35 ml/Second
For better carbonation performance, adjust the sparkling water flow rate to approximately:
35 ml per second
If the water flows too quickly, there may not be enough time for the desired carbonation performance.
Instead of immediately increasing CO₂ pressure when carbonation seems weak, first check the sparkling water flow rate.
A useful starting setup is:
- CO₂ pressure: 58–73 PSI / 4–5 bar
- Sparkling water flow: approximately 35 ml/second
- Water inlet pressure: minimum 2 bar
From there, make small adjustments if necessary.
How to Fine-Tune Carbonation
A common mistake when setting up an under-sink sparkling water dispenser is focusing only on CO₂ pressure.
Good carbonation depends on several factors working together.
CO₂ Pressure
Begin within the recommended 58–73 PSI range.
Avoid making large pressure changes at once.
Sparkling Water Flow Rate
Use the side flow-control valve to regulate the sparkling water output.
Aim for approximately 35 ml per second.
If the water exits too quickly, reduce the flow slightly and test again.
Water Temperature
Carbonation performs best when the water has been properly chilled.
When using the system for the first time, allow the dispenser enough time to cool the internal water before judging the final carbonation level.
Final Leak Check Before Regular Use
Before pushing everything back into the cabinet, carefully inspect all water and CO₂ connections.
Check:
- Water inlet connection
- Filter connection
- Sparkling water outlet
- Chilled water outlet
- Ambient water outlet
- Faucet connections
- CO₂ regulator connection
- CO₂ tubing
- Manual shut-off valves
Look for water droplets, loose tubing, abnormal sounds, or signs of gas leakage.
It is much easier to correct a connection while the machine and tubing remain accessible.
Recommended Installation Layout
A typical Liliumfaucet under-sink installation follows this layout:
Water Side
Cold Water Supply → Water Filtration System → Water Shut-Off Valve → Dispenser Water Inlet
The dispenser then supplies:
Dispenser → Sparkling Water → 3-Way Faucet
Dispenser → Chilled Water → 3-Way Faucet
Dispenser → Ambient Water → 3-Way Faucet
CO₂ Side
CO₂ Cylinder → Pressure Regulator → 5/16" CO₂ Tube → Manual Shut-Off Valve → Dispenser CO₂ Inlet
Keeping the water and CO₂ tubing organized makes future maintenance much easier.
Common Installation Problems
Sparkling Water Is Not Carbonated Enough
Check the following:
- Is the CO₂ cylinder open?
- Is the manual CO₂ valve open?
- Is the regulator set to approximately 58–73 PSI?
- Is the CO₂ tube properly connected?
- Is the water sufficiently chilled?
- Is the sparkling water flow too high?
- Try reducing the sparkling water flow toward approximately 35 ml per second before making major pressure adjustments.
Sparkling Water Sputters from the Faucet
Sputtering can indicate that the relationship between CO₂ pressure and sparkling water flow needs adjustment.
Do not assume that higher CO₂ pressure will automatically produce better results.
Make small adjustments to the sparkling water flow and CO₂ pressure until the discharge becomes more stable.
No Water Comes from the Faucet
Check:
- Main water supply
- Water filter
- Manual water inlet valve
- 1/4-inch inlet tubing
- Minimum inlet pressure
- Faucet connections
- Side water valves on the dispenser
Also make sure none of the tubes are kinked behind the machine.
Water Flow Is Too Low
If all side valves are open but the flow remains low, check the water supply and filtration system.
A highly restrictive filter can reduce the amount of water reaching the dispenser.
The machine requires at least 2 bar of inlet water pressure.
Condensation Appears Inside the Cabinet
Some condensation can develop on cold tubing in warm or humid environments.
Make sure the sparkling and chilled water pipes are covered with insulation tubing.
Good cabinet ventilation can also help manage moisture and heat around an under-sink dispenser.
Installation Tips for Better Long-Term Performance
A few simple installation practices can make the system easier to use and maintain.
Leave Access to the Valves
Do not position the dispenser so tightly against the cabinet wall that you cannot reach the side adjustment valves.
You may need these valves later to fine-tune water flow.
Keep the CO₂ Regulator Visible
Position the CO₂ cylinder so that you can easily read the regulator and close the cylinder when necessary.
Avoid Kinking the Tubing
Sharp bends can restrict both water and CO₂ flow.
Use smooth curves when routing the tubing through the cabinet.
Keep Cold Lines Insulated
Insulating the chilled and sparkling water lines helps reduce condensation inside the cabinet.
Test Everything Before Final Placement
Complete the startup procedure and test:
- Ambient water
- Chilled water
- Sparkling water
- CO₂ pressure
- Water flow
- All connections
before moving the dispenser into its final position.
Frequently Asked Questions
What CO₂ pressure should I use for a Liliumfaucet sparkling water dispenser?
Start at approximately 58–73 PSI, or 4–5 bar. The final setting should be balanced with the sparkling water flow rate rather than adjusted independently.
What size CO₂ tube does the dispenser use?
The CO₂ connection uses 5/16-inch tubing.
What size water tubing does the dispenser use?
The water inlet and water outlet connections described in this installation use 1/4-inch water tubing.
What water pressure does the sparkling water dispenser require?
The water inlet pressure should be at least 2 bar.
What should the sparkling water flow rate be?
For better carbonation performance, adjust the sparkling water outlet to approximately 35 ml per second.
Should I open the CO₂ valve before turning on the dispenser?
During the initial installation, keep the manual CO₂ valve closed while completing the water-side setup. First allow the system to fill with water and confirm normal ambient water flow. Then open the CO₂ supply.
Why should the chilled and sparkling water pipes be insulated?
These pipes carry cold water and can develop condensation in warm or humid environments. Insulation helps reduce moisture forming on the outside of the tubing.
Can I adjust the sparkling water flow?
Yes. The side valves on the dispenser allow the sparkling and chilled water flow to be adjusted. Proper sparkling water flow is particularly important for carbonation performance.
Final Installation Checklist
Before regular use, confirm that:
- The sparkling, chilled, and ambient water lines are connected correctly.
- The 1/4-inch water inlet is connected to the filtration system.
- The water inlet pressure is at least 2 bar.
- The 5/16-inch CO₂ tubing is securely connected.
- The CO₂ regulator is installed correctly.
- CO₂ pressure is approximately 58–73 PSI / 4–5 bar.
- The manual CO₂ valve is open after initial water startup.
- Sparkling water flow is approximately 35 ml per second.
- Chilled and sparkling water lines are insulated.
- The faucet delivers ambient, chilled, and sparkling water correctly.
- All water connections have been checked for leaks.
- All CO₂ connections have been checked carefully before regular operation.
Conclusion
Installing an under-sink sparkling water dispenser is more involved than installing a standard drinking water filter, but the process is straightforward when the water, CO₂, and faucet connections are completed in the correct order.
For the Liliumfaucet system, the most important setup points are to maintain adequate inlet water pressure, connect the three water outlets correctly, keep the CO₂ pressure within the recommended range, and adjust the sparkling water flow to approximately 35 ml per second.
Once properly installed and adjusted, the system provides sparkling, chilled, and ambient drinking water directly from a single 3-way faucet while keeping the countertop clean and uncluttered.
Always inspect all water and CO₂ connections carefully for leaks before regular use.
Learn more about Liliumfaucet under-sink sparkling water dispensers and multifunction kitchen faucets at Liliumfaucet.com.
.jpeg?w=800&h=800)
.jpg?w=375&h=247)